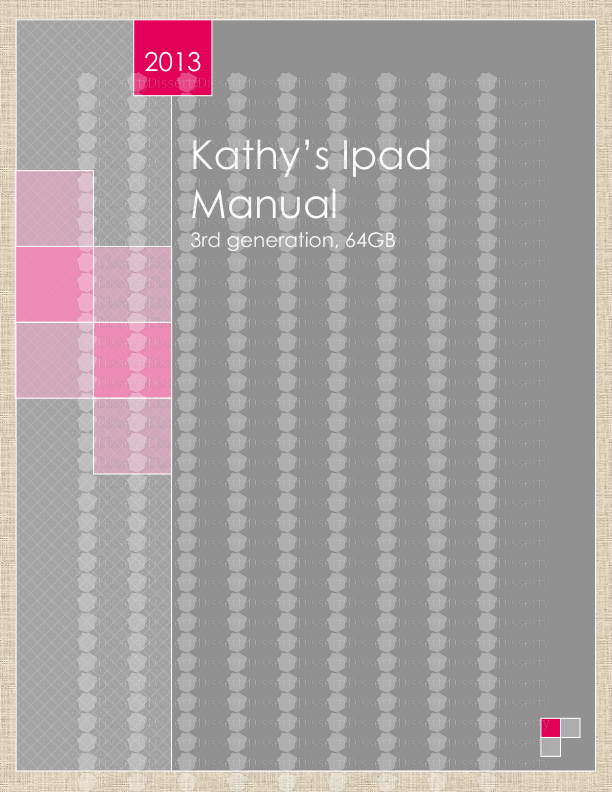

Kathy’s Ipad Manual 3rd generation, 64GB 2013 1 Table of content Content page
Kathy’s Ipad Manual 3rd generation, 64GB 2013 1 Table of content Content page Basic buttons 2-3 Wi-Fi 4 Screen brightness 5 Wallpaper 6 Sound 7 Adding applications 8 Email 9 Playing music 10 Playing movies 11 Skype 12-13 Photos 14 2 Basic buttons Status bar: The status bar is where you can determine your internet connection. The more bars that are white the stronger your internet signal. The Face time Camera: The face time camera is the dot at the top of your Ipad. This is the camera that is used to Skype so that people can see your face. App Icons: Application icons are little squares that name different functions. For example safari is your internet browser, email, music, etc. When you touch these application icons the program/ application will open. 3 Multi touch Display: The multi touch display is what is commonly known as a touch screen. By using your fingers or stylus pen you can swipe either left or right to get a new screen (Search screen = farthest left, main screen = middle, App screens all of the others). Home: The home button is the circular button centered on the bottom of your Ipad. If you hit it once it will take you to the main screen where the settings, calendar, and other apps are located. Sleep/Wake: The sleep/wake button is also the power on/off button. If you push the button once it will either put your Ipad to sleep or wake it up. If you were to hold down the button then on the screen a red sliding car would appear. If you want to turn off your Ipad you would slide the red touch screen button. If you want to turn on your Ipad you would just hold down the Sleep/wake button (Refer to the above photo). Headset Jack: The headset Jack is the hole at the top of your Ipad. This is used to plug in your headphones when you would like to listen to music or watch movies privately. iSight camera: The iSight camera is the camera that you use to take pictures and are facing away from you. Microphone: The microphone is used to pick up sounds. For example a professor’s lecture. The slide switch: The slide switch is used to turn on and off any alarms you may have set. If the button is set at the top the ringer is on if it is in the bottom position then the ringer/alarms are off. Volume up/down: The volume up/down button controls your volume. If you were to push the top part it will turn your volume up. If you were to push the bottom part of the button then the volume would decrease. Speaker: The speaker is where the sounds, such as music, will come out. Lightning Connector: This is where you will plug in your Ipad when you want to 1) charge it or 2) sync it to your computer. *Do not worry about the SIM card tray. They are only on certain models* 4 Wi-Fi Steps to connecting to the internet Go the main screen where the settings icon is located. Touch the settings icon to open the application On the left hand side of the settings screen there will be different categories listed. Click on the category labeled Wi-Fi. When in the Wi-Fi screen there will be three different sections. Wi-Fi on/off: make sure it is switched to on Choose a network Ask to join networks on/off: I have mine set to on but it is up to you. All it will do is have a window pop up on your screen when you are within range of a Wi-Fi hot spot and ask you if you want to connect. When choosing a network you want to pick a secured signal (indicated by a little black lock symbol) that you have the password for or an unsecured network. If Secured Click on the name of the signal Ex: Denny’s A box will pop up asking you to type in a password Using the keyboard type the password After typing the password click “join” The Wi-Fi should then work. A blue check mark should appear next to the signals name The “Status bar” that was discussed above should indicate if you are connected or not. If unsecured Click on the name of the signal Once again a blue check mark should appear and the status bar should have bars. 5 Adjusting Screen Brightness To adjust the brightness of your Ipad screen swipe to the main screen. Touch and open the settings application. On the left there are different categories listed. Click on the category labeled “brightness and wallpaper”. At the top below the bar there is a section labeled “Auto-Brightness on/off” I would recommend setting it to off. Once on that screen there is a bar with a circle. By touching the circle and moving it along the bar you can control how bright or how dark your Ipad screen is. Moving the circle to the left makes the screen darker and moving the circle to the right makes your screen brighter. Wallpaper 6 To change your wallpaper/ background images go to the same exact section as stated above in the screen brightness section. Click on the rectangle that says “wallpaper” A screen will open up with different places you can get pictures. Sample pictures that were included with the Ipad Pictures you have taken with your Ipad Pictures you have uploaded onto your Ipad Select one of the sections to browse through the pictures. When you find an image that you like click on it. When you click on the image the image will enlarge and in the top right hand corner there will be three options to choose from. Set as lock screen 1. The lock screen is the screen that you are on when you are waking up your Ipad Set Home screen 1. Your home screen is the screen(s) that your apps are located on Set both. 1. You also have the option of setting one image as both your lock and home screen image. If you do not like the image you selected then in the left hand corner click “cancel” and continue to look at pictures until you find one you like. Sound To turn the volume up and down there are two ways 7 Using the volume button on the side of your Ipad This was discussed previously on page 3 Going into the settings to control volume First swipe to the main screen where the settings icon is located Click on the settings icon to open the application On the left are categories listed, click on the category “sounds” On this page there will be different sections Ringer and Alerts First switch the “change with buttons on/off” to “on” Then control the volume with the circle that is on the bar “Sounds” In each of the sections under the “Sounds” section you can change the sounds that each thing makes. For example when you want to change the sound that your Ipad makes when you get a new email you would click on “New Mail” then scroll through the sounds until you find one you like. Once you find the one that you like click on it and a blue check mark will appear next to it. Then you are done! Adding Applications Swipe to the main screen where the settings, calendar, and app store icons are located. 8 Click on the App store icon When the application opens you will be on a screen that has five different categories listed along the bottom of your Ipad screen. Click on the featured category There you will find many different apps that are being featured that month. If you find one that looks interesting click on it. A window will pop up with more details about the application If you want to buy it click on the price. There will be either a numerical price or it will say “free” When you click on the price the box will turn green and say “Install App” If you want it you click “Install App” A box will then pop up asking for you to type in your apple ID password. This will be the password you set up when you set up your iTunes account. Once you enter your password successfully your app will download onto your Ipad. You will find it on uploads/Geographie/ guide 35 .pdf
Documents similaires


-
35
-
0
-
0
Licence et utilisation
Gratuit pour un usage personnel Attribution requise- Détails
- Publié le Aoû 14, 2022
- Catégorie Geography / Geogra...
- Langue French
- Taille du fichier 0.1866MB