
Walkthrough Disclaimer and what this guide covers Before using the walkthrough
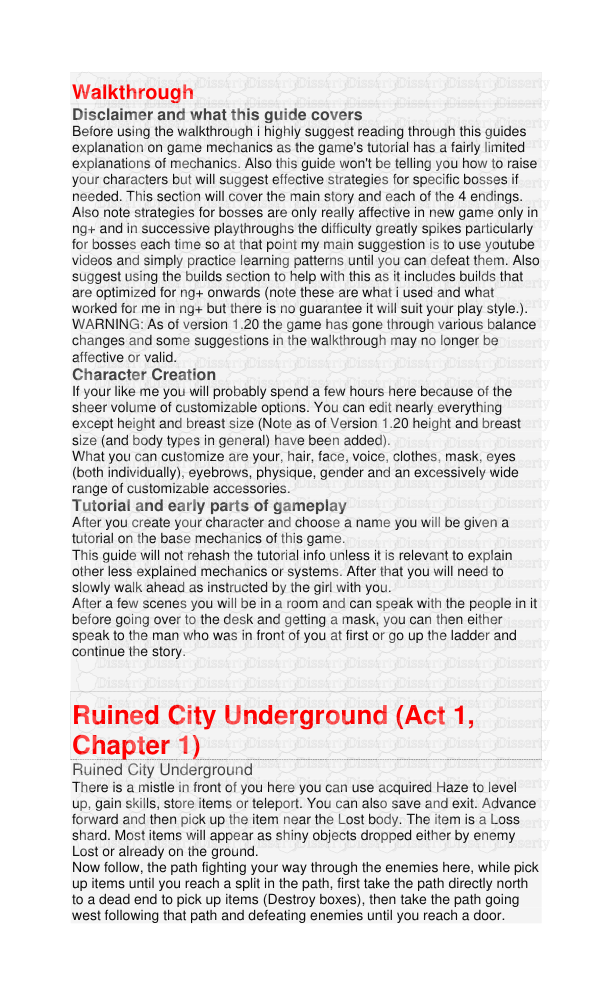
Walkthrough Disclaimer and what this guide covers Before using the walkthrough i highly suggest reading through this guides explanation on game mechanics as the game's tutorial has a fairly limited explanations of mechanics. Also this guide won't be telling you how to raise your characters but will suggest effective strategies for specific bosses if needed. This section will cover the main story and each of the 4 endings. Also note strategies for bosses are only really affective in new game only in ng+ and in successive playthroughs the difficulty greatly spikes particularly for bosses each time so at that point my main suggestion is to use youtube videos and simply practice learning patterns until you can defeat them. Also suggest using the builds section to help with this as it includes builds that are optimized for ng+ onwards (note these are what i used and what worked for me in ng+ but there is no guarantee it will suit your play style.). WARNING: As of version 1.20 the game has gone through various balance changes and some suggestions in the walkthrough may no longer be affective or valid. Character Creation If your like me you will probably spend a few hours here because of the sheer volume of customizable options. You can edit nearly everything except height and breast size (Note as of Version 1.20 height and breast size (and body types in general) have been added). What you can customize are your, hair, face, voice, clothes, mask, eyes (both individually), eyebrows, physique, gender and an excessively wide range of customizable accessories. Tutorial and early parts of gameplay After you create your character and choose a name you will be given a tutorial on the base mechanics of this game. This guide will not rehash the tutorial info unless it is relevant to explain other less explained mechanics or systems. After that you will need to slowly walk ahead as instructed by the girl with you. After a few scenes you will be in a room and can speak with the people in it before going over to the desk and getting a mask, you can then either speak to the man who was in front of you at first or go up the ladder and continue the story. Ruined City Underground (Act 1, Chapter 1) Ruined City Underground There is a mistle in front of you here you can use acquired Haze to level up, gain skills, store items or teleport. You can also save and exit. Advance forward and then pick up the item near the Lost body. The item is a Loss shard. Most items will appear as shiny objects dropped either by enemy Lost or already on the ground. Now follow, the path fighting your way through the enemies here, while pick up items until you reach a split in the path, first take the path directly north to a dead end to pick up items (Destroy boxes), then take the path going west following that path and defeating enemies until you reach a door. The enemies you face here are mostly Lost with various weapons, shields. They are all pretty easy to beat but the area tends to have ledges you can fall from which is very likely how you might die here if at all. Be careful of an ambush near the door with 3 Lost, you will want to kill the Lost with Bayonet before the others as they can be annoying, let your ally deal with the others and kill that lost then go after the others. There are 2 chests down this path remember to open them. Now make your way down the path killing enemies and picking items as before, you will then encounter slime like enemies which fall from the ceiling. You can deal with these using long range gifts to knock them down or using a bayonet's strong attack. Now go up the ladder at the end of the path make sure to collect any items. Also if you die and revive at the mistle at the start you will need to fight your way back, though the map is mostly marked by the path you took, it isn't mapped out. Enemies will also respawn. Be sure to collect the Haze where you died if you do. After you go up the ladder purify the mistle and the area you have traveled will be mapped out. In addition the path to your left will take you back to the start point, and there is a chest behind the stairs. Now follow the path to the right of the purified mistle, as soon as you enter the cavern like area look around the area for a place to drop down to you will find a chest here, then drop down again and advance, there will be a fork, one path leads to the ledge where you jumped the other to an open area. After a scene you will need to proceed on your own. If i were you I'd go back to the first Mistle and level up a bit. The path splits off a little after that point, one path is wrought with normal sized enemies while there is one slightly big enemy on the left path. Both paths end up at the same place so go down one and then go down the other. In the corner after the paths meet is an unactivated mistle you can use to level up and save game and so on. Be aware however doing so will bring back all the enemies you killed here. Now there are paths that move downwards near you, be very prepared for what you are about to face, this is a large sub boss like enemy which has a ton of HP. His swings are super long range and close range combat while effective for damage is dangerous due to his many stomping and swinging attacks, one way to over power him is to use a long range weapon like Bayonet's strong attack to chip at him at a range while falling back. Another method is to let him fall off the ledge. The ledge is easier. The best method for dealing with this large enemy is to use a bayonet and attack it quickly to lower its health as quickly as possible though you must be wary of its long reach swings and and stomping as they can toss you over the ledge. After you kill him the area will be mapped and you can advance north. You will then see another Revenant who you can talk to and have him join you as an ally. Regardless after keep pushing north. After meeting the stranger there is a split with a path moving up and one moving down. Now ahead will be a massive ambush and going in blind will likely end up with you dying unless your lucky or have gotten good at the game, first take the lower paths and move down and take down the slightly big enemy then go way back to the path which went upwards to ambush the bayonet wielding enemies. Lastly the same Large enemy as last time is here, this time you aren't alone but they are still a threat, make sure you make your way around and take down the Bayonet wielders while your ally holds them off. Now follow the path to the to the small room, watch the scene and then keep advancing, the path ahead has a few slightly big enemies and some slimes in the area with ceilings, you will eventually reach a mistle to purify to fully map the area. Now head upwards towards the surface for your first Boss battle. Below is a map of this area it contains the locations of all items and such during your first time through use it alongside the above instruction. (Credit for the map goes to the editors of the Code vein wiki (fextralife)) Oliver Collins We all saw that coming. At the start of the battle he is a normal sized foe but has strong swings and very difficult to stagger. Plan your attacks carefully. He is a bit slow and doesn't have long ranged attacks so use that to your advantage. A great tactic is to let him swing at you and then lay into him after he stops, you can also use your ally as a distraction as you attack the foe. You can use the Mage Blood code to use long range gifts on him as well but it isn't recommended for the second half. After he loses 50% HP he will become a large fat monster with even greater swings and attack damage. Avoid his swings and try and and attack him at a range or allow your ally to draw his fire while you attack its back. Winning will give you the boss' weapon and after a scene will play. The pick up the vestige you uploads/S4/ cv-walkthrough.pdf
Documents similaires


-
24
-
0
-
0
Licence et utilisation
Gratuit pour un usage personnel Attribution requise- Détails
- Publié le Jan 04, 2021
- Catégorie Law / Droit
- Langue French
- Taille du fichier 3.2642MB